02 Jun 2019, 15:55

My Net Control Setup

Tonight on the NET net, I’m talking about being a net control operator, what it takes, tips and tricks, and just doing it in general. As part of this I thought I’d share my setup for being net control for the NET net!

So, without further ado, here’s a picture!

my net control station

my net control station

Now, I know what you’re thinking. Pen and paper? and a laptop?

I kid. I know what you’re really thinking. Yes, that’s my kitchen. Yes that’s my sink. Yes that’s a lot of very expensive electronics within inches of a faucet. I know. I haven’t had any mishaps yet, and it’s really the only place I have to do it at the moment, as I need to be on the south side of my place to reach the repeater from the handheld reliably, and then I also have plenty of power and space for things. It’s a risk, but it’s one I take all the time, so it’s fine. All of that stuff is either battery powered or well grounded and on GFCI outlets, so I’m not worried about personal safety.

A quick rundown though of the stuff you’re looking at:

  • laptop – this has my preamble, my topic script, my directed check-in list, my manual check-in list, really everything I need to be able to do this. I can also quickly look things up if there’s a topic that demands it, I’ve definitely pulled up manuals for other peoples’ radios and such to help them out.
  • pen and paper – I don’t tend to use this much, but it can be handy to have if I have a bunch of people with questions or whatever so I can keep track of who I haven’t gotten back to with their question or comment.
  • radio – In this particular case it’s a Kenwood TH-D74a with a Diamond something or other dual band antenna. I have a speakermic for it so I don’t have to bend down to talk into the radio, and it’s clipped to a cutting board so it doesn’t go anywhere, stays fairly vertical, and holds it in place enough that grabbing the speakermic doesn’t pull the whole radio with it.
  • bluetooth speaker – This is actually not something I’ve used for net control yet, but I’m going to try it tonight. The speakermic has a speaker in it, but it’s not the greatest sounding speaker in the world. My radio has bluetooth and the ability to connect a bluetooth headset or speaker or whatever to it. I’m a bit concerned that the mic built into the speaker is the one that’s going to be used rather than the speakermic’s mic, but that’s something that I’ll try to figure out before the net. The speakermic’s mic is decent enough to use, but a better speaker would be less harsh on the ears.
  • water – not just the faucet, but I have a bottle there with some ice water in it. I’ll probably drink all of that and more during the net. I get thirsty, and also it helps me slow down and pace things a bit if I stop and take a drink of water after putting out a call for check-ins or comments or whatever if the net is kinda slow.
  • power supply – it’s off to the right, but I have my desktop 12V power supply also up there. I use this rather than the stock supply that came with the radio because it seems to both provide more power (it’s certainly capable of more power, anyways) and the power seems to be cleaner. I’ve had comments in the past of background noise problems, but last time after the net I swapped out the power supply and tried it and folks said it was free of background noise. Perfect.

Here’s the power supply. It’s just a Powerwerx 30 amp power supply. I “made” the cable by taking the stock power supply that came with the radio, cutting it, and putting Anderson connectors on the ends. The stock supply is 12V, so this is convenient for using with other 12V sources. There’s a big warning though to not wire directly to a vehicle’s 12V supply, however, because it’s not a well regulated 12V, and that can hurt the radio. It expects a regulated 12V source. Makes sense. Also, pro tip, bust out your meter and check the polarity of the wires before you put the connectors on. Some radios don’t much care for reversed polarity, as it turns out. *ahem*

power supply

power supply

There are also a couple of other pieces of electronics in there, there are 2 raspberry pis (only one is in use at the moment), a Mobilinkd TNC2, and there’s another bluetooth speaker behind the cutting board. Those aren’t part of the net control setup, that’s just where those things live. The RPi lives there primarily because my radio also tends to live on that ledge, and it’s connected via bluetooth to the radio for Winlink and other packet stuff, so I just like to keep it near by. Plus that USB charger there is very conveniently placed to power the Pi. The other Pi is something I still want to set up but haven’t done yet, and the Mobilinkd is one of 2 that I have (I also have the TNC3) that I’m using for my “winlink on the cheap” project. But That’s Another Show™

Note that this is all very temporary setup. My handheld does live on that shelf, generally, because it’s just a convenient place for it, but the big power supply and all the other stuff gets put away after the net, it doesn’t live on my kitchen counter!

11 May 2019, 20:35

Winlink and the TH-D74, now with more Bluetooth!

As stated in my post about getting winlink going with a Raspberry Pi and my TH-D74a, I wasn’t having success getting my radio connected to the Pi using bluetooth.

Well, tonight, that’s changed. I managed to do it. It’s glorious.

TH-D74a bluetooth KISSing

TH-D74a bluetooth KISSing

The first thing I figured out that I was doing wrong the other day, was in bluetoothctl I was trying to connect to my radio. What I needed to do was pair. Then I ran into all sorts of other confusing things that I’m still not 100% sure on, but I’m going to try to explain them here.

Tools you’ll need:

  • bluetoothctl
  • sdptool
  • rfcomm
  • kissattach
  • kissparms

And of course, your text editor of choice.

In this case, these instructions are going to be specifically for Raspbian Stretch, but they might just work with other things? I’m also going to try to link to where I found instructions or assistance that helped me along the way, but I had so many tabs open and searching for stuff it’s hard to remember where I first saw things.

Anywho, here goes!

Radio setup

The first thing you’ll need to do is configure your radio for KISS over bluetooth.

  • Turn Bluetooth on (menu 930)
  • Turn KISS to Bluetooth (menu 983)
  • Turn other Bluetooth things off (menu 98*) – This may not be strictly necessary, but I did it as a way to isolate just KISS in case there were some strange conflicts happening. I’d love to hear success/failure if other things are enabled!

And that should be that for radio configuration.

Raspberry Pi setup

First you need to modify the bluetooth service to enable the Serial Port Profile. via

  • sudo $EDITOR /etc/systemd/system/dbus-org.bluez.service
  • At the end of the StartCommand= line, add -C – This seems to enable sdptool to actually work, apparently it has been deprecated in Bluez 5?
  • Add an ExecStartPost= line to enable the SP profile: ExecStartPost=/usr/bin/sdptool add SP

Save the file and reboot. You might only need to restart bluetoothd. YMMV.

Pair the radio with the Pi

Now you need to pair the radio with the Pi. This is the bit where I messed up before, hopefully these instructions will help you not make the same mistakes I did!

  • Turn on pairing mode on the radio (menu 934)
  • On the Pi: bluetoothctl
  • agent on (within the bluetoothctl shell) – This seems to be required to enable pairing.
  • scan on (within the bluetoothctl shell) – This scans for the radio.

Note that if your pairing mode on your radio has timed out you may need to start it over. It’s no big deal, and once scan is on your radio will eventually show up.

The radio should show up in the list:

[bluetooth]# scan on
Discovery started
[CHG] Controller B8:27:EB:A8:5A:4F Discovering: yes
[...]
[CHG] Device 4C:2C:65:EF:94:74 RSSI: -74
[CHG] Device 59:C6:33:9F:30:63 RSSI: -77
[CHG] Device 5B:1F:D6:7C:AE:6D RSSI: -91
[NEW] Device 56:D4:9A:25:4E:D8 56-D4-9A-25-4E-D8
[NEW] Device 24:71:89:A2:4A:68 TH-D74

The 24:71:89:A2:4A:68 there is the mac address of the device, and also the ID you’ll need going forward. Note that it’ll be different for your radio as MAC addresses are meant to be mostly globally unique.

Then you pair 24:71:89:A2:4A:68 (use your radio’s mac address, not mine ;-) and it will show a code on the radio and ask you if that’s correct. Don’t do like I did and type in the code, that doesn’t work. Just confirm whether or not they match!

[bluetooth]# pair 24:71:89:A2:4A:68
Attempting to pair with 24:71:89:A2:4A:68
[CHG] Device 24:71:89:A2:4A:68 Connected: yes
Request confirmation
[agent] Confirm passkey 187740 (yes/no): yes
[CHG] Device 24:71:89:A2:4A:68 UUIDs: 00001101-0000-1000-8000-00805f9b34fb
[CHG] Device 24:71:89:A2:4A:68 UUIDs: 00001112-0000-1000-8000-00805f9b34fb
[CHG] Device 24:71:89:A2:4A:68 ServicesResolved: yes
[CHG] Device 24:71:89:A2:4A:68 Paired: yes
Pairing successful
[CHG] Device 24:71:89:A2:4A:68 ServicesResolved: no
[CHG] Device 24:71:89:A2:4A:68 Connected: no

And finally, tell the bluetooth system to trust the radio so it will automatically connect when available:

trust 24:71:89:A2:4A:68

Now your radio should be paired to the Raspberry Pi.

Note that if you’ve previously paired your radio and Pi you might run into Failed to pair: org.bluez.Error.AuthenticationFailed. This is because your radio still thinks it’s paired to the Pi, even though the Pi doesn’t think so anymore. Go into the connect menu (menu 931), highlight the Pi, and then press Menu. This will bring up a submenu where you can “clear” the device, which makes the radio forget about it. Then try the above steps again! via TH-D74a manual

rfcomm

Ok, so this is where I got really confused. The instructions I’ve found online say to do this:

rfcomm connect 0 24:71:89:A2:4A:68 2

What does any of that even mean?

So, my understanding of it is that rfcomm is what actually goes about creating the /dev/rfcommN devices that you can then connect to as serial port devices. The 0 in the above command is which one you’d like to configure. As far as I can tell, this is arbitrary, just needs to not already be in use by another rfcomm. The 24:71:89:A2:4A:68 is, of course, the mac address of the radio. And the 2 is the channel. I’m still pretty foggy on what the channel is, but I know that, at least on my radio, it needs to be 2. 1 “works”, but it doesn’t actually work. 2, however, works. YMMV. And I’d love to know more about how to even discover what this should be. UPDATE: I know why now!

This command, if it works will stay running in the foreground:

root@raspberrypi:~# rfcomm connect 0 24:71:89:A2:4A:68 2
Connected /dev/rfcomm0 to 24:71:89:A2:4A:68 on channel 2
Press CTRL-C for hangup

Once you’ve gone through all of this and have it up and running, you can use rfcomm bind instead of rfcomm connect and it will launch into the background and connecting to the /dev/rfcomm0 device will automatically bring up the connection to the radio (i.e. kissattach).

axports file

The rest of this pretty much follows Pat’s excellent documentation for setting up ax25, but I’ll reproduce it here.

In the /etc/ax25/axports file, add a line like:

wl2k MYCALL 9600 255 7 Winlink

According to axports(5) this means:

  • wl2k – the unique identifier of the port. You’ll use this in the pat config file.
  • MYCALL – replace this with your callsign.
  • 9600 – the speed of the interface. 9600 seems to be fine. I feel like it could be faster, maybe 115200, but it doesn’t really matter as you can’t actually send that fast over the air anyways.
  • paclen – the default maximum packet size. This value comes straight out of Pat’s docs.
  • 7 – the default window size. This value also comes straight out of Pat’s docs.
  • Winlink – a description of the interface. Doesn’t need to be Winlink. It can be literally anything.

kissattach / kissparms

Unlike in my previous post, we won’t be using /dev/ttyACM0 this time, since that’s the USB version of this. We’ll be using the device rfcomm created above: /dev/rfcomm0 (if your first argument to rfcomm was not 0, use that number instead). The kissparms command will be the same.

sudo kissattach /dev/rfcomm0 wl2k
sudo kissparms -p wl2k -t 300 -l 10 -s 12 -r 80 -f n

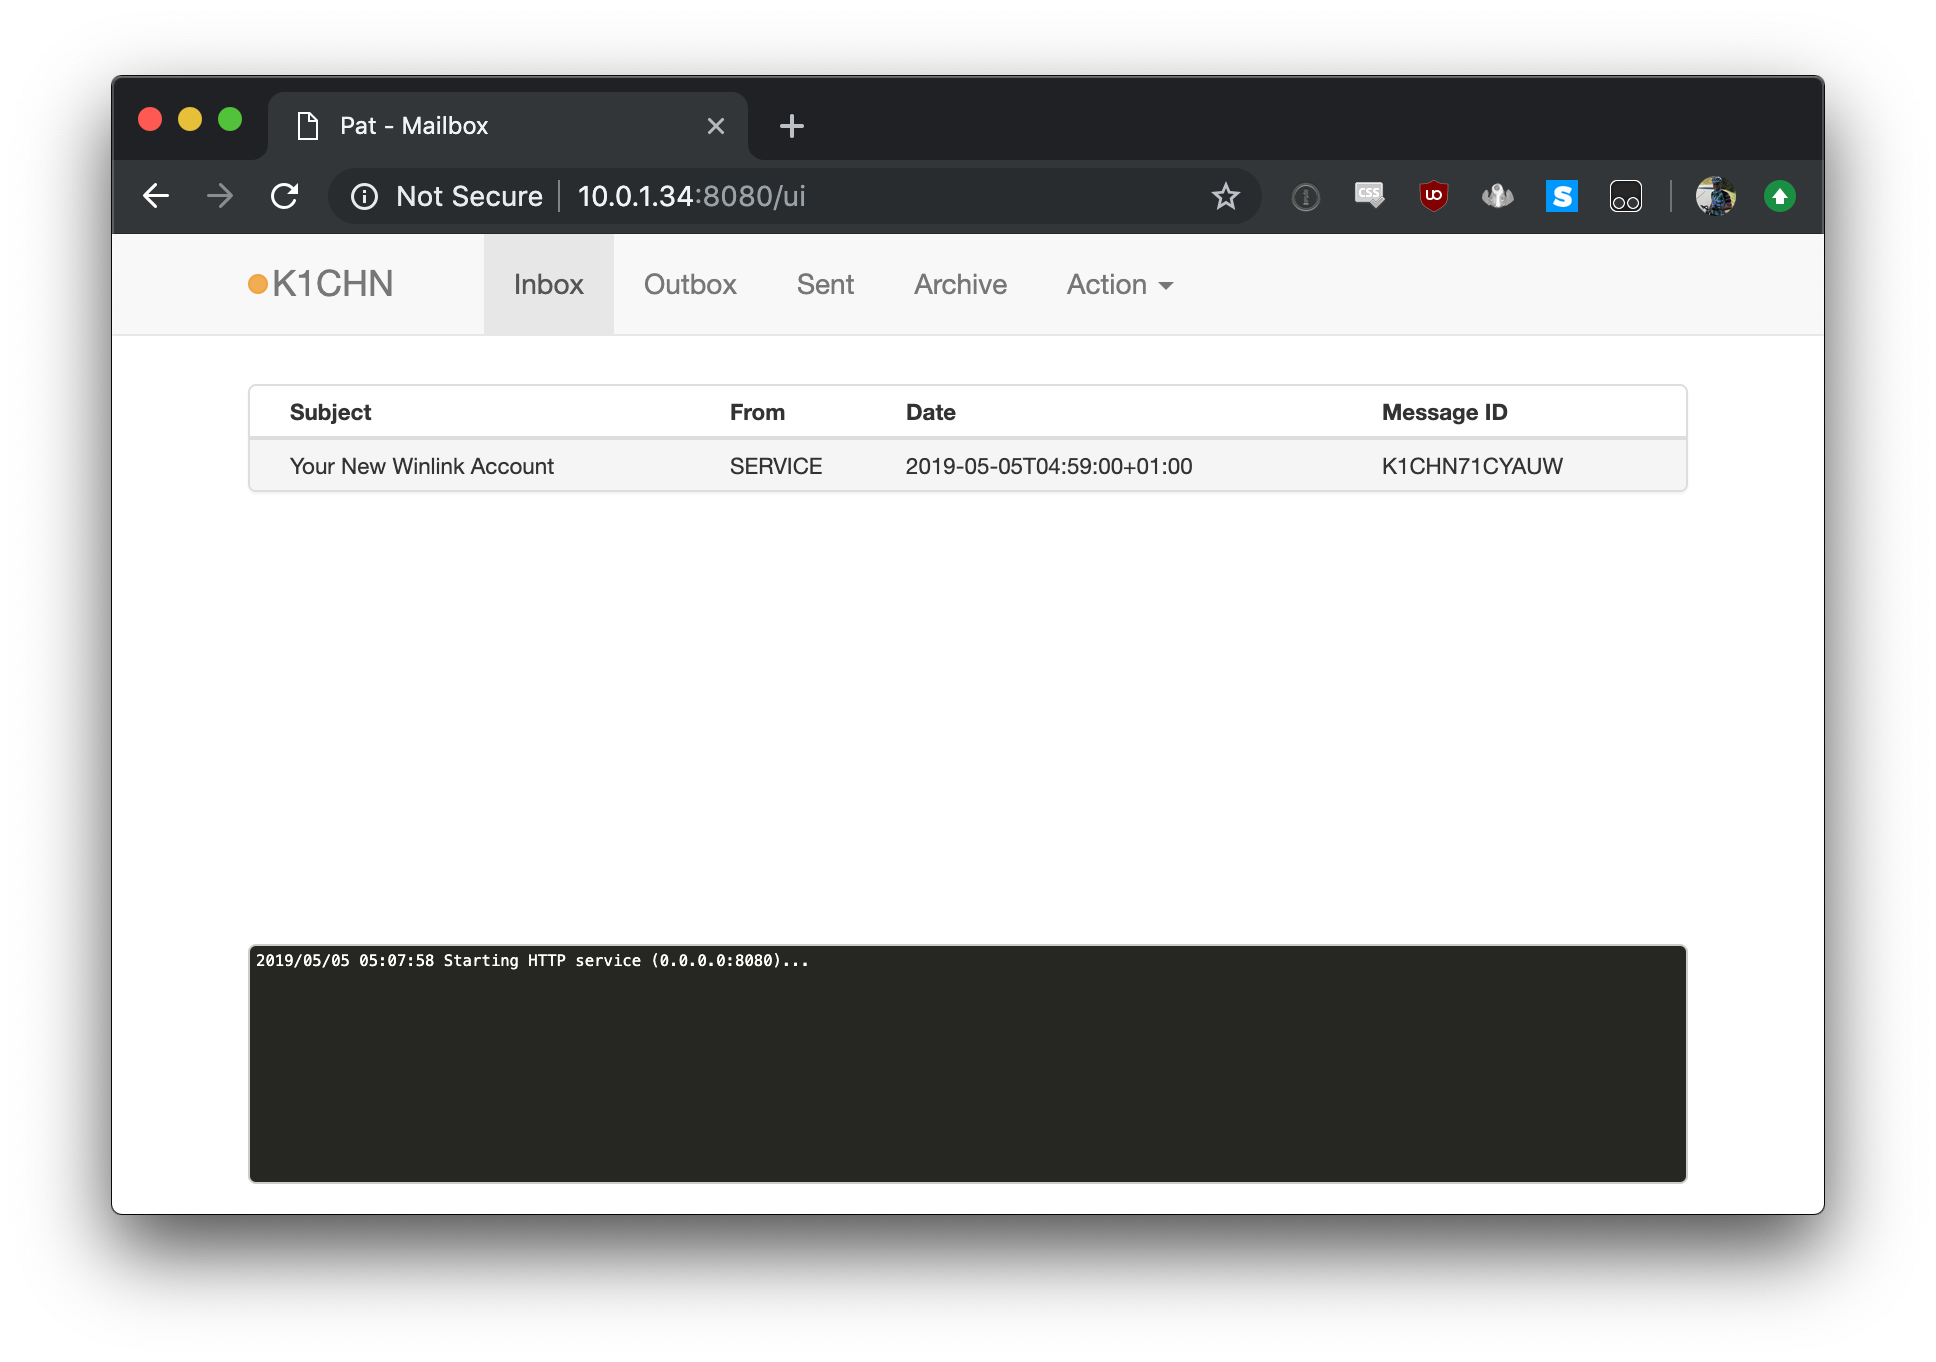
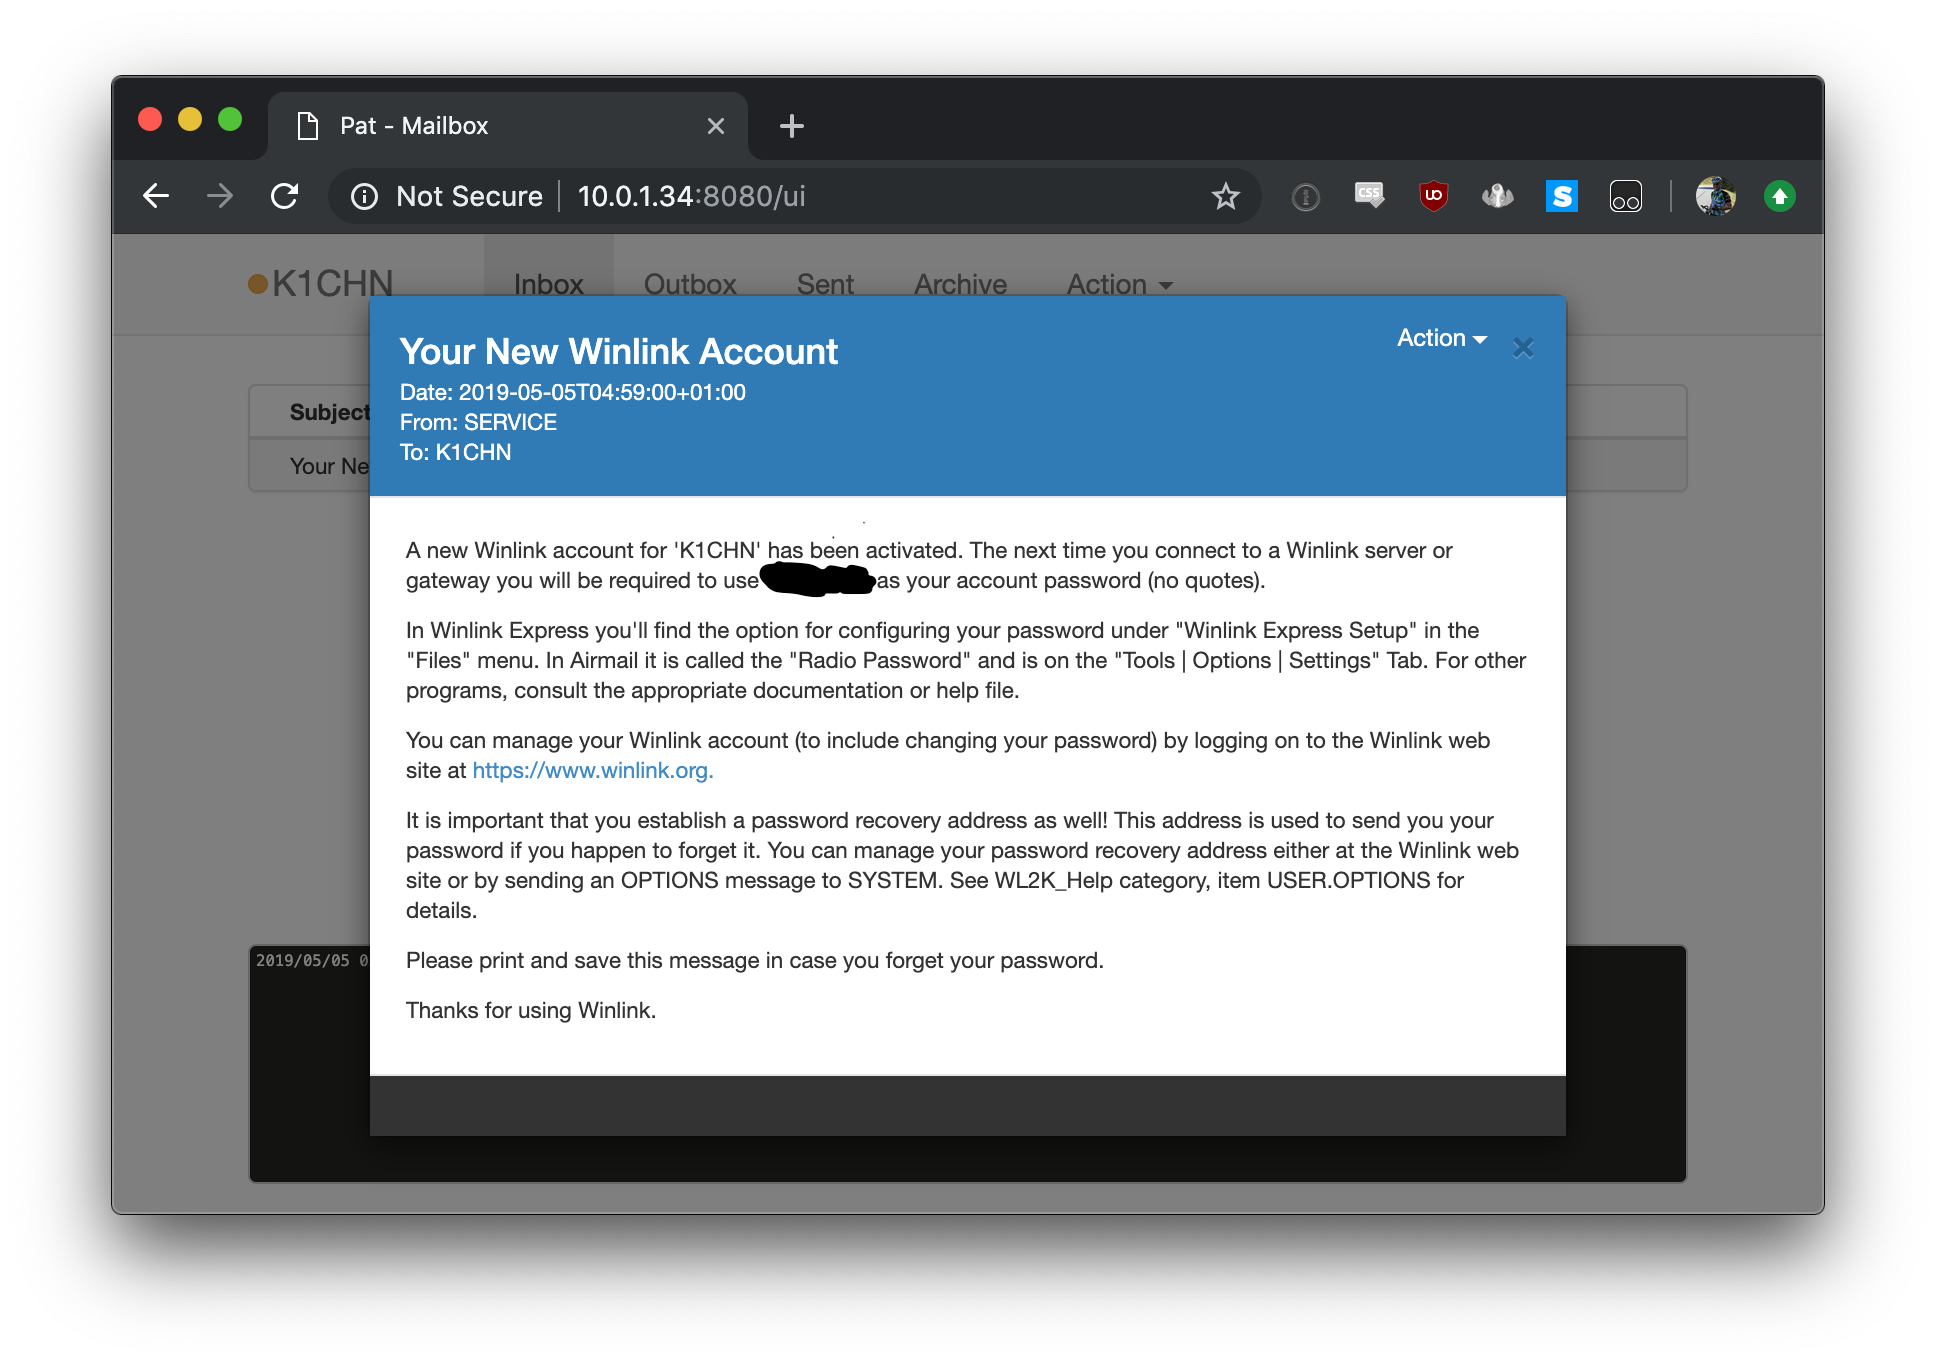
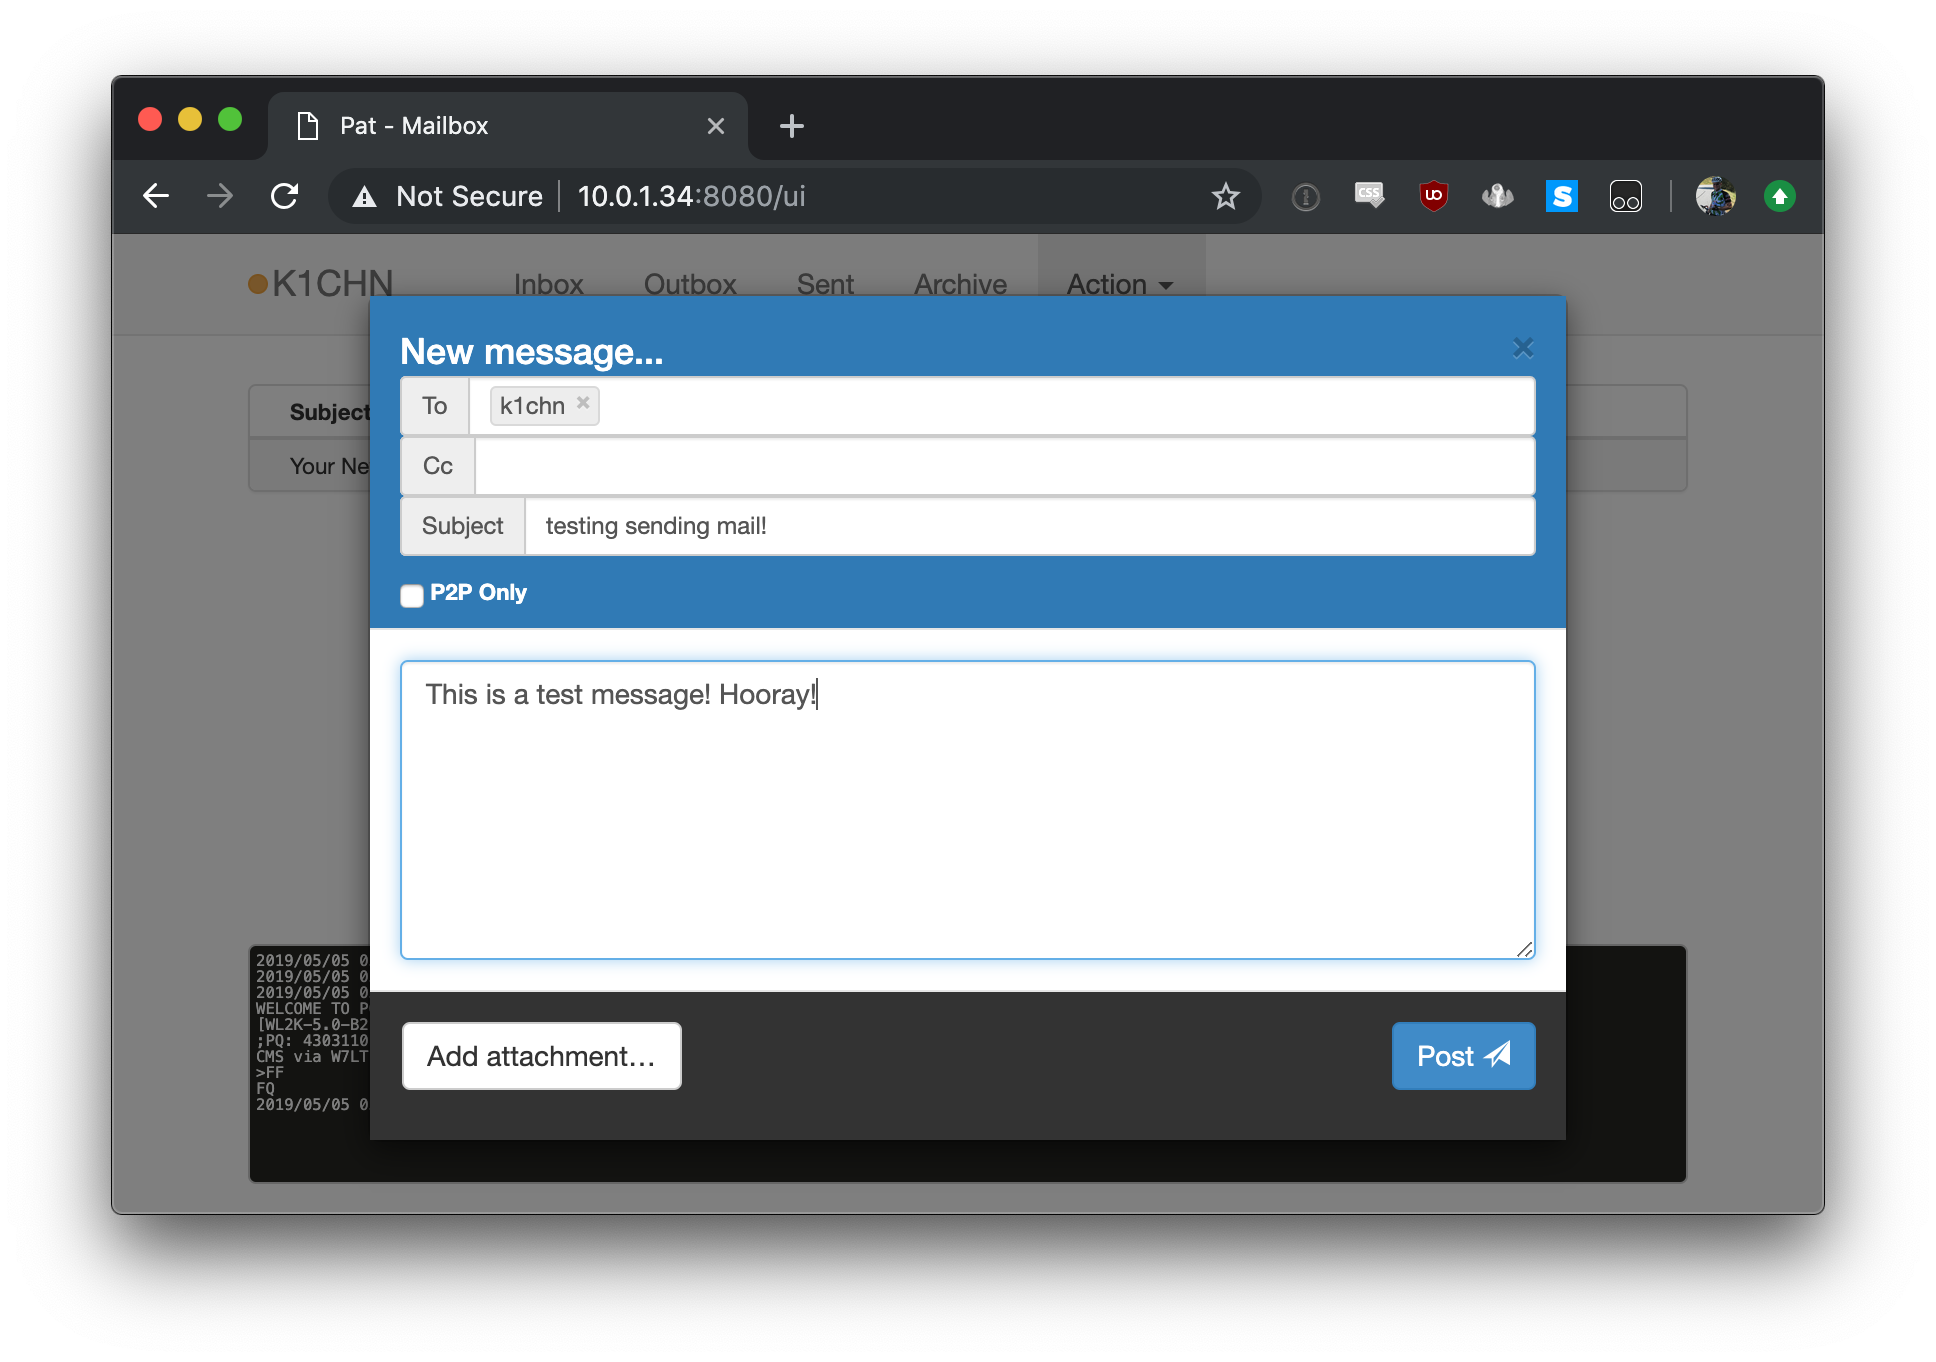
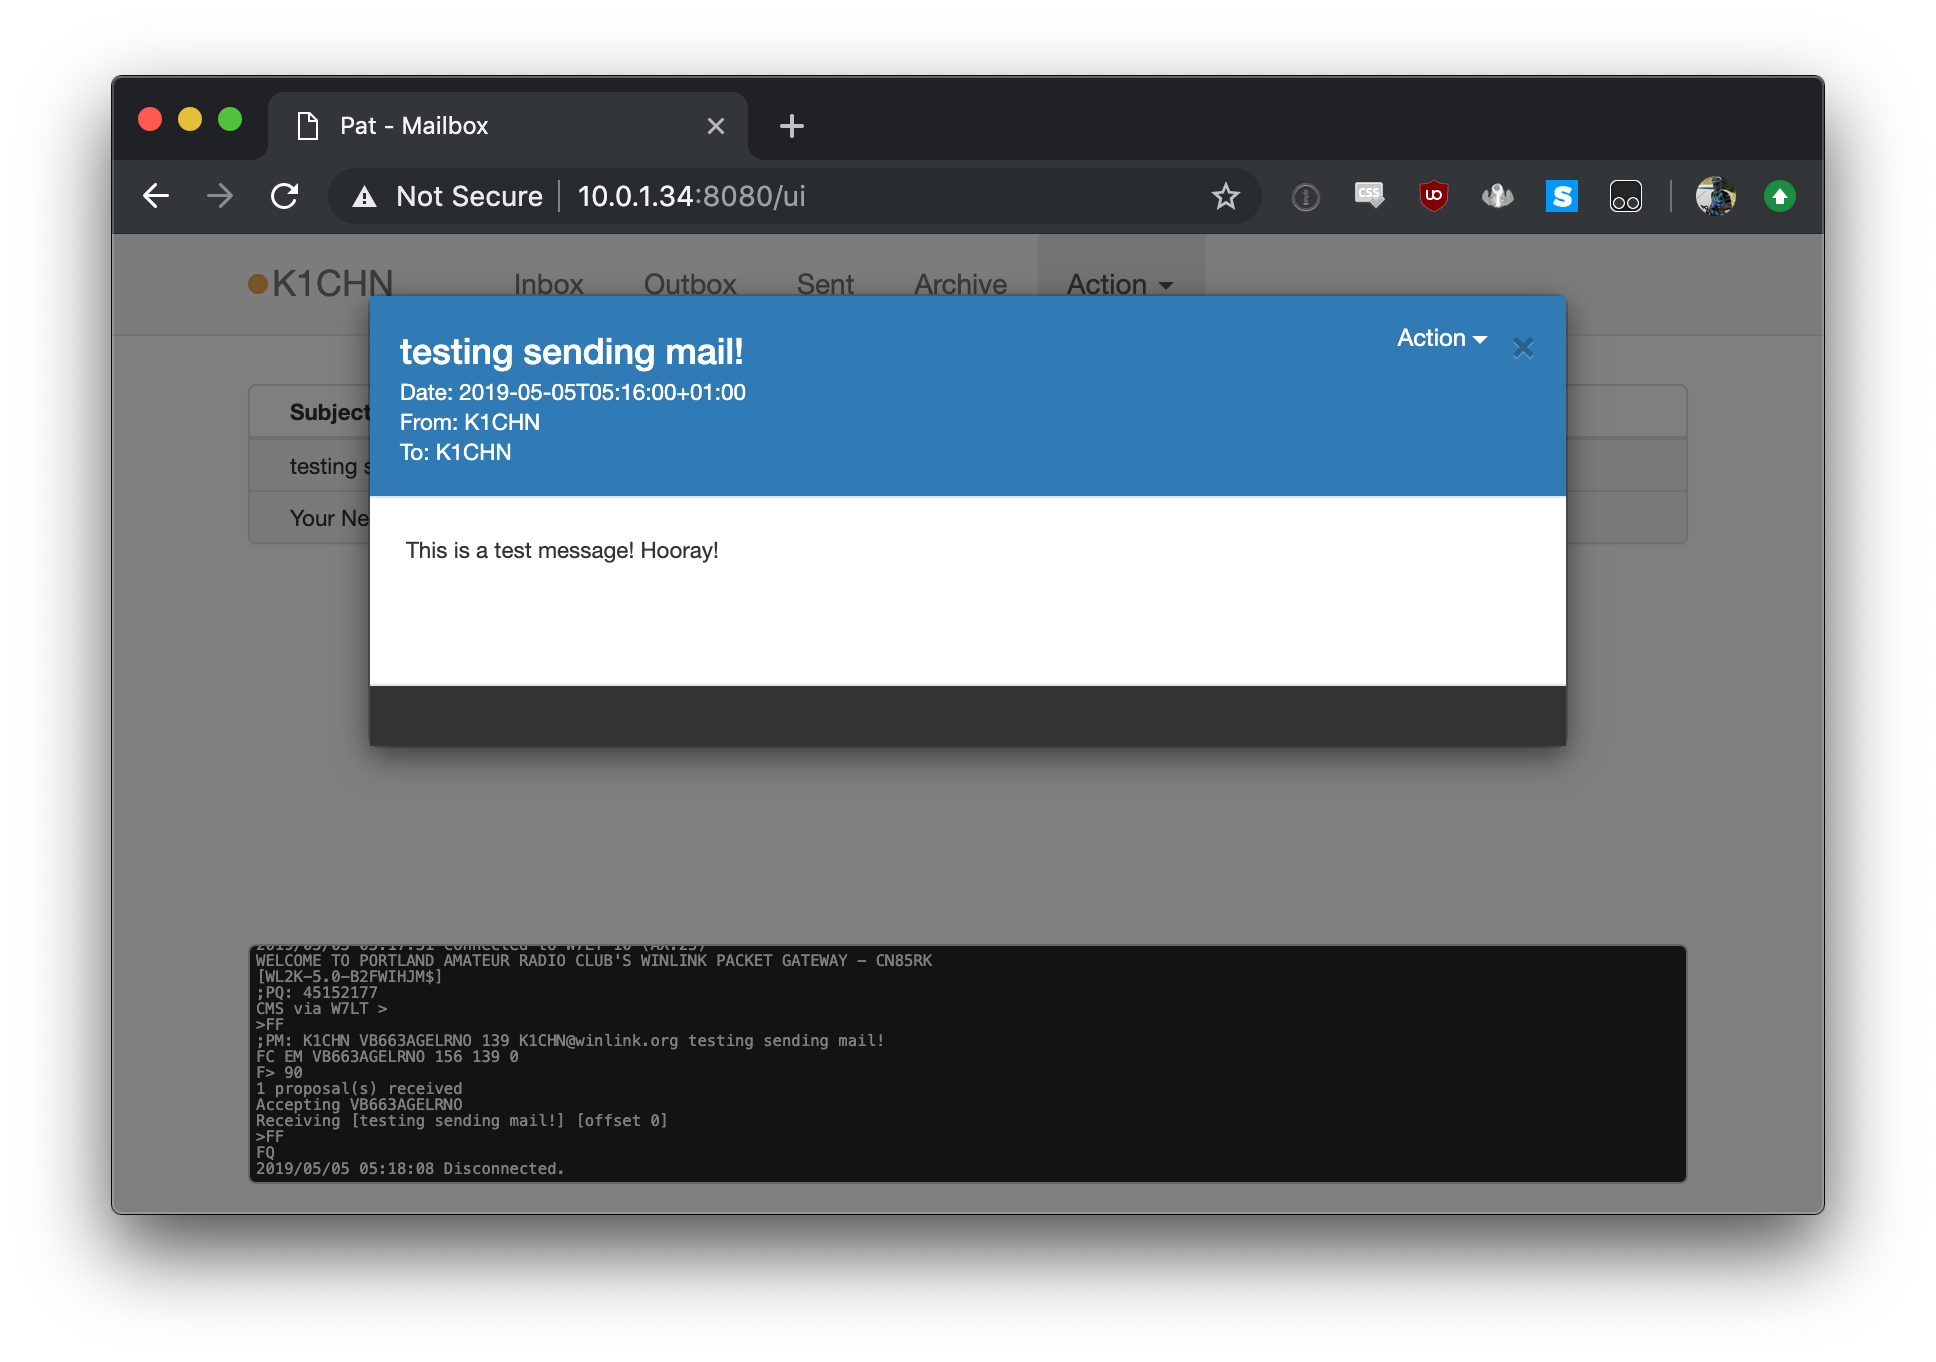
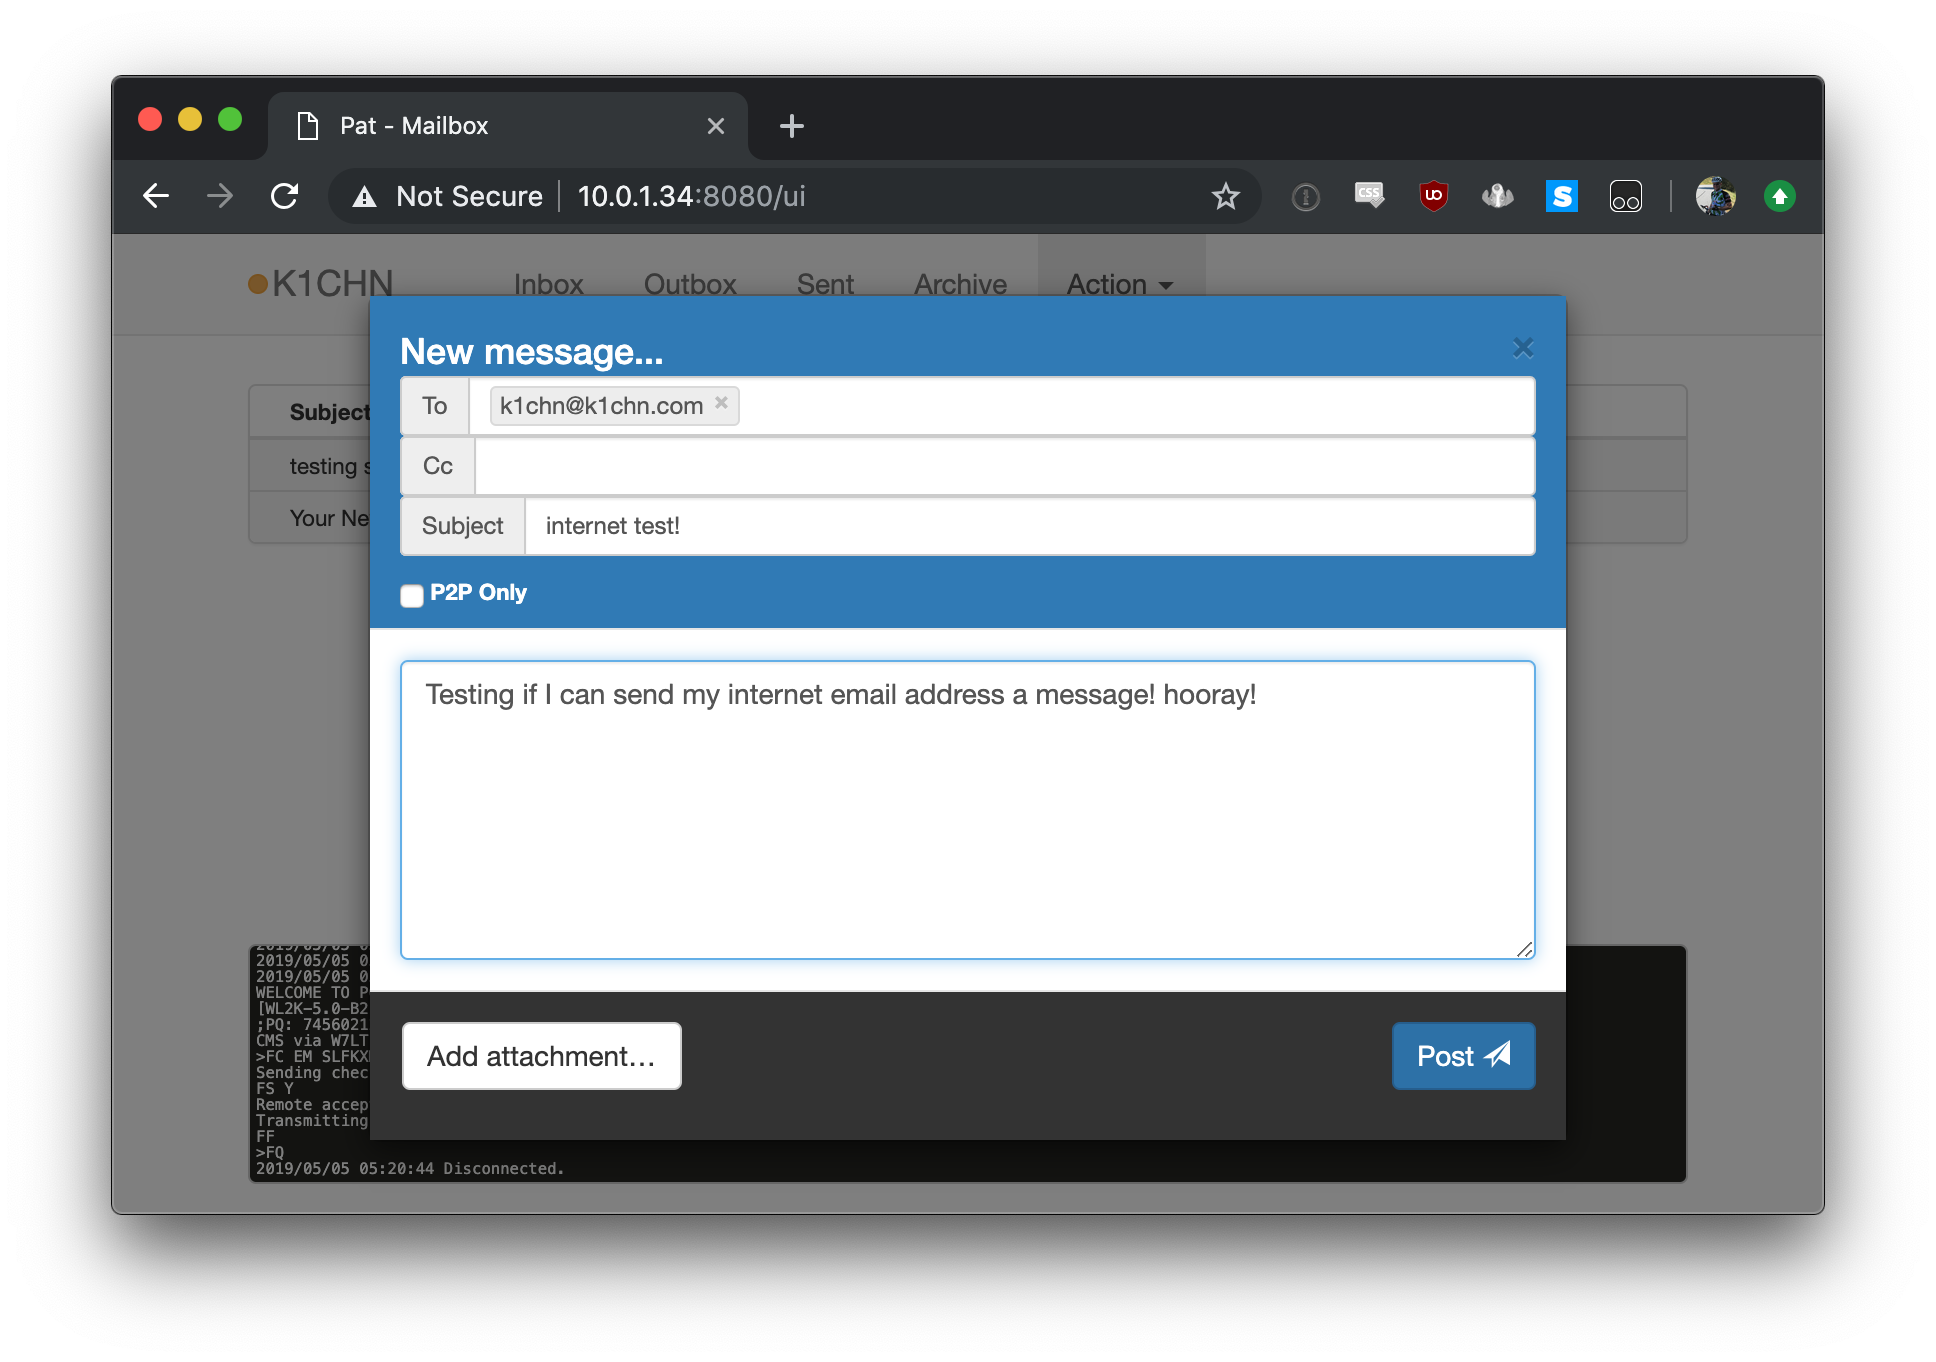
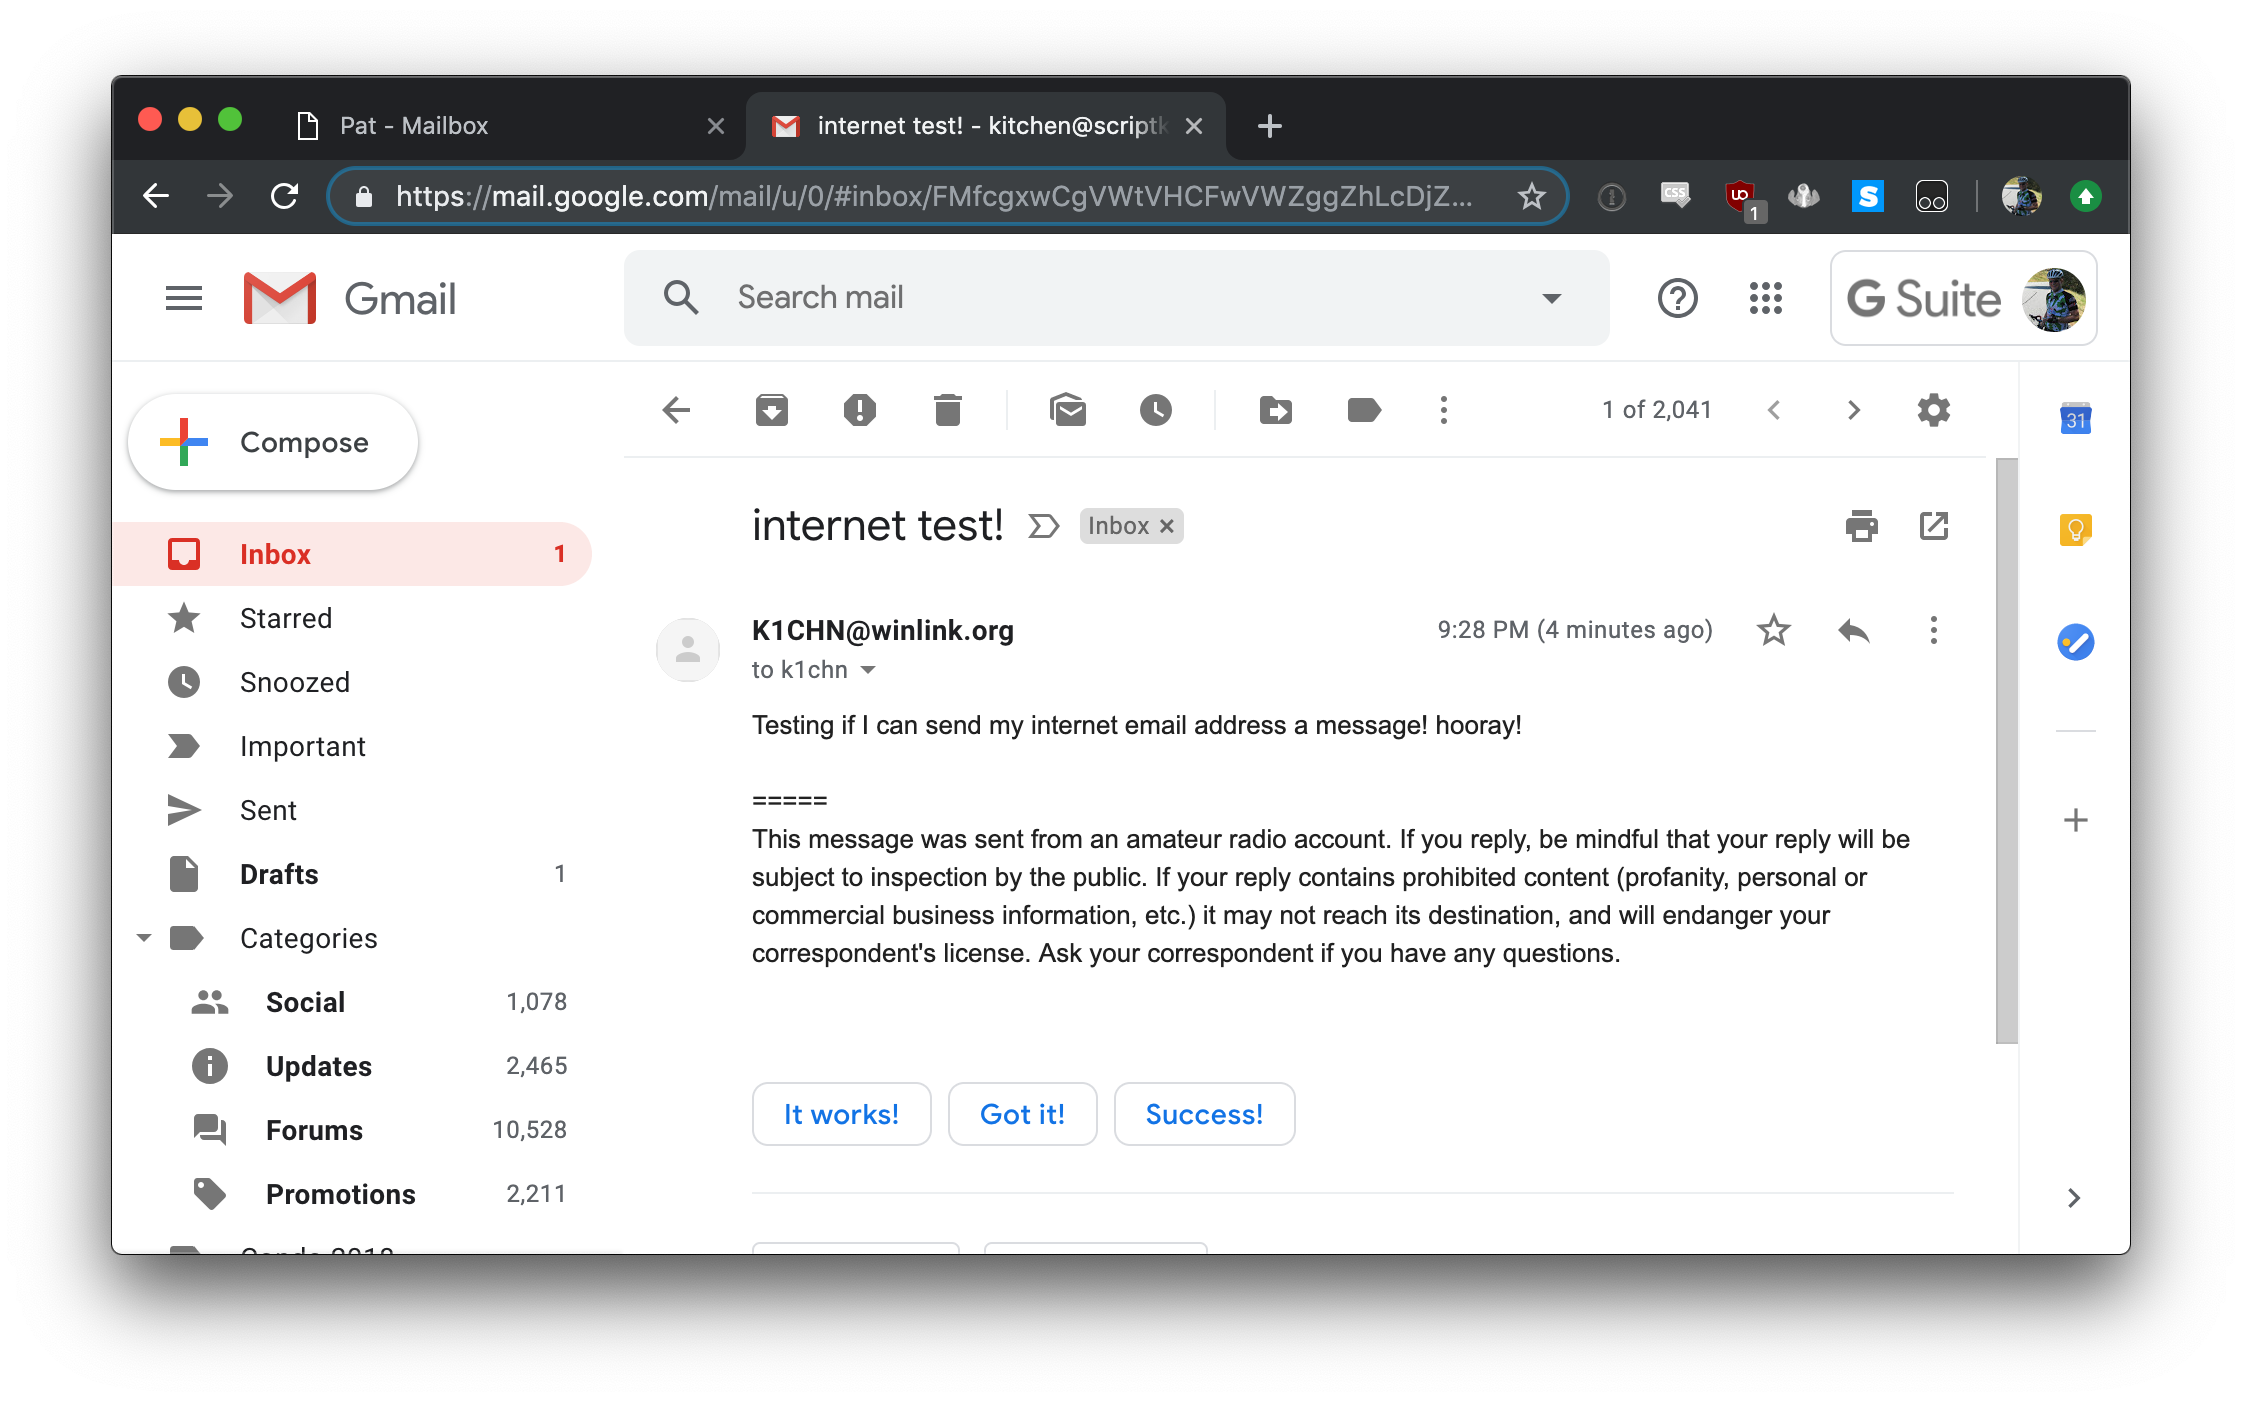
And then you should be able to use Pat like normal!

slow first connection

Note that I’ve found the first connection to take a bit of extra time, which has many times led me to believe it wasn’t working correctly. Looking in /var/log/syslog I see some things:

May 11 22:03:12 raspberrypi pat[1012]: 2019/05/11 22:03:12 Connecting to W7LT-10 (ax25)...
May 11 22:03:12 raspberrypi kernel: [ 1923.347019] mkiss: ax0: Trying crc-smack
May 11 22:03:22 raspberrypi kernel: [ 1933.918389] mkiss: ax0: Trying crc-flexnet
May 11 22:03:44 raspberrypi pat[1012]: 2019/05/11 22:03:44 Connected to W7LT-10 (AX.25)

(I’m running Pat under systemd which is why the logs are showing up in syslog)

Note that it takes about 30 seconds to make that first connection. Subsequent connections are much faster, I’m assuming the KISS/AX.25 bits have figured out how to talk to the radio and remember that for later:

May 11 22:05:48 raspberrypi pat[1012]: 2019/05/11 22:05:48 Connecting to W7LT-10 (ax25)...
May 11 22:05:50 raspberrypi pat[1012]: 2019/05/11 22:05:50 Connected to W7LT-10 (AX.25)
May 11 22:05:52 raspberrypi pat[1012]: WELCOME TO PORTLAND AMATEUR RADIO CLUB'S WINLINK PACKET GATEWAY - CN85RK

kissparms(8) suggests that you can specify the crc mode using it, but I’m not sure what it need to be. The default seems to be auto and that matches what I’m seeing the radio actually doing.

tearing down

This is all rather finicky to set up, but it’s also pretty finicky to tear down. And you need to tear it down or things will be in weird states when you try to set it up again the next time.

  • kissattach launches a background process and keeps the connection to the radio active. Kill the process to exit it.
  • rfcomm stays in the foreground if using connect. Ctrl-c to exit it out. If you’ve used bind instead, you’ll need to rfcomm release 0 to release the device.

This can be done in really any order. rfcomm release 0 will error if kissattach is still running, rfcomm connect probably won’t exit until kissattach is killed, etc. Also, if you power off the radio or get out of range, you can still clean it all up. And you’ll want to do this or the next time you’ll get some device already in use or whatever errors.

what’s next?

So, what kinda set me down this road today is I was playing around with making it so when I plug my radio in via usb, kissattach comes up, kissparms runs, and it’s ready to roll. When I unplug the radio, it tears everything down. I actually got the tearing down bits working, but I had to manually start the systemd service that launched the kissattach and such when plugging the radio in. Still better than doing it all manually every time. I’d still like to complete that work, if for no other reason than it provides a learning opportunity for how to use systemd. But I’d also like to do this for the bluetooth side of things. That would mean I can grab my laptop, turn my radio on, open the pat web interface, check my winlink email, and tear it all down without logging into the pi at all. That would be perfect. So, I’m going to play around with trying to do that. If/when I am successful, I will of course post about it here :)

If you’ve made it this far, thanks for reading! If this helped you, I’d love to hear about it! If you’re having trouble, I’d definitely love to hear about it and try to get you working!

Update: Channel info!

Above I mentioned I wasn’t sure why channel 2 was what it should be. I now know why. sdptool records 24:71:89:A2:4A:68 via

root@raspberrypi:~# sdptool records 24:71:89:A2:4A:68
Service RecHandle: 0x10000
Service Class ID List:
  "Headset Audio Gateway" (0x1112)
  "Generic Audio" (0x1203)
Protocol Descriptor List:
  "L2CAP" (0x0100)
  "RFCOMM" (0x0003)
    Channel: 1
Language Base Attr List:
  code_ISO639: 0x656e
  encoding:    0x6a
  base_offset: 0x100
Profile Descriptor List:
  "Headset" (0x1108)
    Version: 0x0102

Service Name: Serial Port
Service RecHandle: 0x10001
Service Class ID List:
  "Serial Port" (0x1101)
Protocol Descriptor List:
  "L2CAP" (0x0100)
  "RFCOMM" (0x0003)
    Channel: 2
Language Base Attr List:
  code_ISO639: 0x656e
  encoding:    0x6a
  base_offset: 0x100
Profile Descriptor List:
  "Serial Port" (0x1101)
    Version: 0x0100

As you can see in that second stanza, it says RFCOMM and Channel: 2. So, that makes sense!

08 May 2019, 08:44

A Whole New World

I recently got Winlink up and running using a raspberry pi. It was pretty cool. I also love the fact that this little device is probably as powerful if not more powerful than my old linux server I ran in 2001 when I was in college. And it’s super tiny and awesome. I’m probably going to get at least one more to turn into a “home server” of sorts, maybe even a VPN endpoint or something. I dunno. At any rate, I’m enjoying it.

I’ve been using linux for something like 18 years now, and working with it professionally for most of that time. I’d seen ham radio stuff in kernel configs before but never thought too much about it. However, the winlink project opened a door for me. A door I didn’t know existed. This morning I’ve been looking into how to automate setting up the ax25 bits when I connect my radio to my pi and have been looking at systemd docs and all sorts of stuff.

However, the most eye opening thing was when I started looking through the packages available on Raspbian and accidentally finding so much more than I thought even existed:

pi@raspberrypi:~ $ apt-cache search rigctl
gpredict - Satellite tracking program
xdx - DX-cluster tcp/ip client for amateur radio

pi@raspberrypi:~ $ apt-cache search hamlib
cqrlog - Advanced logging program for hamradio operators
gpredict - Satellite tracking program
grig - graphical user interface to the Ham Radio Control Libraries
libhamlib++-dev - Development C++ library to control radio transceivers and receivers
libhamlib-dev - Development library to control radio transceivers and receivers
libhamlib-doc - Documentation for the hamlib radio control library
libhamlib-utils - Utilities to support the hamlib radio control library
libhamlib2 - Run-time library to control radio transceivers and receivers
libhamlib2++c2 - Run-time C++ library to control radio transceivers and receivers
libhamlib2-perl - Run-time perl library to control radio transceivers and receivers
libhamlib2-tcl - Run-time Tcl library to control radio transceivers and receivers
pyqso - logging tool for amateur radio operators
python-libhamlib2 - Run-time Python library to control radio transceivers and receivers
soapysdr-module-audio - Audio device support for SoapySDR (default version)
soapysdr0.5-2-module-audio - Audio device support for SoapySDR
xdx - DX-cluster tcp/ip client for amateur radio
xlog - GTK+ Logging program for Hamradio Operators
xlog-data - data for xlog, a GTK+ Logging program for Hamradio Operators

Amazing! There’s SO MUCH software just in the officially packaged stuff for Raspbian! Along with the Winlink forms for Pat project, I’m already coming up with so many other project ideas just looking at this list! And I haven’t even really started down the road of SDR! Fun!

05 May 2019, 21:58

Winlink NET net followup

Tonight on the NET net I talked about my experiences with setting up Winlink. There were some great questions and discussion items, so I thought I’d try to capture some of that here for future reference.

There were a couple of people who asked for clarification on how this is all actually connected together. So here’s a picture.

TH-D74a and Raspberry Pi wired up

TH-D74a and Raspberry Pi wired up

On the right hand side is the raspberry pi itself. I don’t have a project box or anything for it. I might make something at some point, but probably not. It works fine without a case. On the left is my Kenwood TH-D74a. Between the Raspberry Pi and the radio is a standard microusb cable. Then I have the raspberry pi connected to a USB power supply using microusb. In the pi itself there’s a 32GB microsd card with raspbian on it. I may swap that out at some point for a different distro, but everything I’ve needed so far has worked without any trouble, so I’ll probably keep it that for now.

On the display you see 2 frequencies. One is band A, and one is band B. This radio has the ability to receive on 2 frequencies at once. When it’s in KISS mode, there isn’t really much reason for the B band to be selected, because it’s being controlled automatically, but I wanted to show the display for the B band. I can turn the A band off entirely, but then I get a GPS display and, ugh. This is fine :) The red bar and STA along with the red light on the top indicate that it’s currently transmitting. The W7LT-10 winlink on the display is just the name I gave that memory, the radio itself doesn’t need to know about the destination node.

I’d also mentioned that you don’t need a $500 radio to do winlink, there are cheaper options including options that work even with a little Baofeng radio. Getting this working with a standard FM voice radio is a goal of mine, if for no other reason than to try to make it more accessible to folks. Not everyone wants to drop $500 on a handheld. Kevin (KU0L) mentioned that there are youtube videos that show how to get it all up and running and sent a link to one he recommends.

My next step is going to be heading down the path of using Dire Wolf as a software TNC, using Pat with that, and connecting the radio (probably my Yaesu FT-60 to start with) using audio cables from the raspberry pi’s sound output.

Another option is to use a mobilinkd TNC as suggested by Ian (N7IMB). It’s a little battery powered TNC with bluetooth connectivity that you can basically duct tape to the back of your handheld and turn it into a TNC enabled radio. Additionally, since it has bluetooth, you can use software like APRSdroid for doing APRS things. In fact, a friend of mine did this very thing at the Southern California Linux Expo a couple of years ago and was walking around the conference just beaconing out his position for grins. It doesn’t seem like there’s any android software for winlink, but I’d love to be wrong on that front! I wasn’t successful getting my raspberry pi and my radio connected with bluetooth, but perhaps mobilinkd is easier to connect? I’m not sure. I am fairly certain I was experiencing a layer 8 problem with my bluetooth attempts, but maybe the mobilinkd is easier out of the box.

Ian also followed up in an email with me some other options:

Also, there is TNC-Pi, which is Raspberry Pi shield TNC. The TNC-Pi 2 is $40 and 3 that does 9600 baud is $65. It is based on TNC-X. https://tnc-x.com/TNCPi.htm

While Googling, I found PiGate. It looks like distribution for Winlink on Raspberry Pi with TNC-X. http://www.pigate.net/

This might inspire me to actually setup Raspberry Pi.

I sincerely hope it does!

Michael (AE7XP) had also previously let me know about the TNC-X. To be honest, I think if I have a raspberry pi in the mix already, I might as well use a software TNC. But maybe there are good reasons to go with a hardware TNC. I’ll have to do some experimenting on it!

And one final thing. Ralph (AG7FE) wrote to ask me about Pat and Winlink forms. I was not aware that such things existed, but it turns out that there are some html forms and templates which come with Winlink Express which allow for standardized input and display of various common forms like ICS-213 forms and whatnot. Apparently this is a hard requirement for ARES operation. I managed to find the templates and such and it looks like there are 3 things here: first being a form to actually fill in. Second, the output of that form, sometimes it’s an XML document, sometimes it’s JSON, sometimes it’s CSV. And the third thing being a way to turn that output back into a human friendly format. Pat doesn’t currently have any of these things, but the API it exposes is bog simple, so creating something like that wouldn’t be terribly difficult if it had to be done outside of Pat. I’ve reached out to the developer to see if there would be any interest in having native support for these forms directly in Pat. The only real difficulty I see with making this happen is detecting what type of form the file actually is to be able to choose which template to use for rendering. There doesn’t seem to be any standardization at all on the actual transport format. Anywho, that’s its own rabbit hole, methinks!

I do plan to do another followup post about getting things going with a normal radio, but I wanted to get this out here tonight!

Thanks to everyone who participated in the net this evening and brought suggestions and info and questions and all of that! I hope I didn’t miss anything or mis-credit anyone, if I did, let me know, I’ll fix it!

04 May 2019, 17:39

Winlink on the TH-D74 using a Raspberry Pi

I’m a Mac user. If you’re a Mac user in the ham world, you’re probably as familiar with how difficult it is to find good software for ham radio for the Mac.

With Portland NET, I’m being encouraged to get Winlink up and running if at all possible. Being on a Mac, this is not the easiest proposition. I’m not a fan of running things under WINE or running unsigned binaries or whatever. I’m fine with using a VM and running Linux inside it, but I made a bit of a mistake when I bought this laptop and thought 128GB of storage would be plenty. Pro tip: it’s not. But that’s ok. Because I have other options.

Fortunately, there’s a piece of software that looks actually quite good called Pat. It’s written in golang. It has a nice command line interface (my day job is working on linux servers and has been forever, so command line is life). It has a web based gui. And it says it supports KISS. I have a Kenwood TH-D74a which has a KISS TNC built in. Of course, I didn’t see the “linux only” part before I started playing around with it. Oops. And it seems the direct serial interface it has both doesn’t work with my setup and is very much not supported anymore.

It does seem that someone has gotten this working in the past using a proxy that Pat can talk to via some sort of TCP based protocol and the proxy translates that to KISS/AX25, but it’s quite old and I can’t seem to get it working. The KISS/AX25 projects it’s based on are self-described as “do not use” and the rewritten versions don’t seem to be fully done, so it’s kind of in a state of limbo. I considered trying to rewrite the proxy itself using a different language that has supported or at least functioning kiss/ax25 libraries, but without really knowing what I’m doing at all, I figure this is probably the wrong route to take at the moment.

Pat’s suggestion is to use Linux, which has native support for AX25, the protocol that winlink uses for transmitting packets over the air. Given my limited amount of storage on my laptop, I’m not really able to run a full VM just for that at the moment, so other options are required. One of those options is the ever awesome Raspberry Pi. The latest version, 3B+, has bluetooth, wifi, 4 usb ports, is plenty fast enough for my needs, etc. I picked one up on Amazon for about $35, along with a 32GB microsd card for about $8. Given that it has bluetooth, I’m thinking I should be able to connect it to my radio wirelessly, which allows me to stuff the rpi in the back of my tv cabinet somewhere after I get it up and running and not have to think about it too much anymore.

After hooking it up to my tv and a usb keyboard, I enabled ssh and hooked it up to wifi and went back to my couch with my laptop instead of sitting 3 feet in front of my TV on my ottoman. And then of course I couldn’t get the pi and the radio to see each other, no matter which one I set to discoverable and which one I set to scan. I was able to get the pi to see the radio, but establishing a connection wasn’t working. Before I gave up on the bluetooth route, I searched for a message I saw Failed to connect: org.bluez.Error.NotAvailable and found a forum post which talks about what I suspected that error meant, that the radio and the pi couldn’t establish a common profile, in this case the serial port profile. Sadly, after much mucking about with it, I was still unable to get it working, so I bailed on that and am just going to use USB for now.

USB worked just fine out of the box. On the TH-D74a you need to set the KISS mode to USB (menu 983) and the USB Function to COM+AF/IF Output (menu 980) and plug it in. A lot of other types of radios have a USB adapter you can buy which is almost always just a USB to serial adapter with an FTDI chip and a the correct wiring to get it to talk to the radio (either UART or I2C). RT systems sells these as well, except they are “branded” and don’t work with standard FTDI drivers and, at least on the mac, the drivers they provide don’t work because they aren’t signed. I don’t recommend any RT systems cables to anyone. Anywho. The TH-D74a basically just has one built in and it’s FTDI compatible!

If I screen /dev/ttyACM0 9600 and type ID I get back ID TH-D74, so I know it’s working! Hooray!

Ok, so on to trying to set up Pat. First, to install it. Which has some dependencies of its own. First, I need golang to be installed. I used apt-get install golang on the pi to grab go, which is version 1.7. Then I needed git because go get uses git under the hood, so I installed that. I set my GOPATH environment variable to $HOME/go and once all of that was done, go get github.com/la5nta/pat finally worked correctly.

From there it was following along on the AX.25 Linux instructions which were easy to follow along with. When I got to the axlisten part, I got a bit sad, as the local frequency I’m trying to use isn’t very active, so I don’t know if it’s working or not. But onward I press!

I got to configuring pat and setting up the ax25 interface and such and all seemed well. Then I got this error: 2019/05/05 03:22:29 Unable to establish connection to remote: AX.25 support not included in this build. I thought to myself… WHAT?! Isn’t that the whole point of this? Perhaps it’s a raspberry pi issue, maybe the code doesn’t work on ARM or something. No. Not so much. According to some other docs I needed to add build tags to get ax25 support. Which also required me to install libax25-dev.

Connect!

pi@raspberrypi:~ $ pat connect ax25://wl2k/KF7LJH-10
2019/05/05 03:27:30 Connecting to KF7LJH-10 (ax25)...

Nothing happened.

I forgot to mention that in the middle here I had to relocate the pi. I’d gotten a couple of messages about under voltage and thought maybe I needed a beefier USB power supply, so I shut the pi down and moved the whole setup to the kitchen. When I got logged back into the pi everything seemed fine, but I couldn’t use screen to connect anymore, for some reason. Strange. So I think that’s what’s happening right now. I’m going to reboot everything and see if that fixes it. “Have you tried turning it off and on again?” :)

Success! At least, success using screen to connect and send an ID command. Let’s try the rest of it again. Nope. I didn’t hear anything from my radio. I didn’t see any activity indication, and no output. When I finally gave up and hit ctrl-c, I got 2019/05/05 03:36:42 Unable to establish connection to remote: Dial timeout as output, so something isn’t quite right.

Google to the rescue! According to The Fine Manual™, I need to set the TNC into KISS mode. Oops.

Ok, so I got that set up. Then I was trying some winlink nodes I found on winlink.org but not really having any luck. A quick google search for “portland packet repeater” turned up the Portland Amateur Radio Club repeater list, which mentions a packet repeater that had been replaced with a winlink node. 144.910 / W7LT-10. So I tuned my radio to that frequency and tried to connect. Suddenly I was deafened by my radio. I’d turned the volume way up trying to hear if there was anything, and hadn’t turned it down. So when that winlink node started talking to me I heard it. It was glorious.

pi@raspberrypi:~ $ pat connect ax25://wl2k/W7LT-10
2019/05/05 04:59:42 Connecting to W7LT-10 (ax25)...
2019/05/05 04:59:53 Connected to W7LT-10 (AX.25)
WELCOME TO PORTLAND AMATEUR RADIO CLUB'S WINLINK PACKET GATEWAY - CN85RK
[WL2K-5.0-B2FWIHJM$]
CMS via W7LT >
>FF
;PM: K1CHN K1CHN71CYAUW 711 SERVICE@winlink.org Your New Winlink Account
FC EM K1CHN71CYAUW 1177 711 0
F> 59
1 proposal(s) received
Accepting K1CHN71CYAUW
Receiving [Your New Winlink Account] [offset 0]
Your New Winlink Account: 100%
>FF
FQ
2019/05/05 05:00:51 Disconnected.

So, it worked? There was lots of back and forth between my radio and the remote system, but judging by the output, everything worked!

So, what now? Well, Pat has a web interface. So I fired it up: pat http -a 0.0.0.0:8080 (the 0.0.0.0 makes it listen on all interfaces, not just localhost, and since I’m connecting from my laptop to the raspberry pi I need to do this). Opening my browser to the web interface, and I’m greeted with what looks like a webmail view!

Pat web interface

Pat web interface

Success!

And it looks like I have mail!

Your new winlink account message

Your new winlink account message

Great!

Then I updated my password and sent myself a test message!

test message composition

test message composition

A couple of round trips connecting to the winlink system later and I have a new piece of mail!

receiving test message

receiving test message

Awesome!

Now, since AE7XP has been one of the folks hounding me about getting winlink going, I dropped him a message just to see if it’s all working. As far as I know winlink is also able to send and receive email from the internet, so one final test:

composing message to internet

composing message to internet

And a short time later…

receiving message to internet

receiving message to internet

Excellent! Now I have something to talk about on the NET net tomorrow night! :)

07 Apr 2019, 03:09

Why Even NTS?

In April 2017, I traveled to Japan to do some backpacking and general exploring of the country. I spent 9 days walking on a section of the Tokai Nature Trail, beginning in Kawaguchiko, Yamanashi Prefecture, on the northern side of Mount Fuji and ending in the Kurata region of Shizuoka Prefecture, about 125 trail miles away. During that trip, I came across a section of the Shinkansen where the train was leaving one tunnel, traveling a short section of track at full speed, and entering another tunnel. The fence surrounding the tracks was fairly close to them, and given the frequency with which the Shinkansen runs, I knew I wouldn’t have to wait long for a train (or many, as was the case) to go speeding past.

I have a friend who is super into trains. Like has spent good money on rare mileage excursion trains into trains. So I knew he would love seeing the Shinkansen up close. I checked the time and it was a reasonable time for him being on the west coast of the US, so I texted him and asked if he could do a video call. Sure! Then I stuck my phone in the fence and waited for a train to go by. It was awesome. What was even more awesome is not only was I in a relatively remote part of Japan, but he was on the BART in the Transbay Tube (i.e. 100+ feet below the San Francisco Bay). And he was able to see everything just fine! It was awesome. He was happy. I was happy. It was a fantastic day.

So, given that that’s a thing I can do, and do pretty trivially, what’s the point of using a radiogram to send a maximum 25 word message from one person to another? Why does the NTS exist? What purpose does it serve? Why would someone want to bother? We have email, texting, international intercontinental real time high definition video calls. Why a radiogram?

In a word: practice.

One of the functions amateur radio can serve is to provide communications when all other communications are lost. Natural disasters can take out power to huge areas, which can impact phone and internet services. They can destroy towers or break overhead communications cables. I’m a member of Portland NET, which is Portland’s version of CERT. As a ham radio operator, my primary responsibility is providing communications support between folks on the ground and folks at the command center.

In NET, we use a “form 8” which is similar to an ICS form 213 general message form. It’s designed to be able to be filled out and passed on by anyone, even without any formal training. When relaying it over the air, you read the field names as well as the contents, so the order in which you read things isn’t important, and there aren’t technical things like checksums or callsigns or anything, it’s just a simple from/to/message sort of deal. Easy.

NTS radiograms are a bit more complex than that. There are callsigns. Checksums. Limits on the number of words. Precedence. But they still have a lot in common with ICS213 and NET form 8. They have a sender and a recipient. And they have a message. And most importantly, it’s important that they are relayed without error from one person to the next until they end up in the hands of the designated recipient.

In a disaster scenario where NET gets deployed, even if there are other means of communication active, our role will still be in large part communications. Even if cell service is active, we may still be handling a lot of written traffic. And we need to be able to effectively and accurately convey those messages.

However, we don’t often get an opportunity to practice these things or put them to work. Sure, we can come up with exercises and practice and such, but contrived examples are hard, and unless it’s interesting or useful, attendance is likely going to be fairly poor. But NTS provides a way in which practice can be had! Practice writing down what someone is saying over the air. Dealing with things like less-than-perfect signals. The sending person talking too fast and you need fills. The receiving person not writing fast enough and they need fills. General radio issues that might crop up. All of this is valuable practice, and the more comfortable you are doing all of these things, the better you’ll be able to fulfill your role in the event of an actual emergency, which could ultimately mean lives saved.

Originating traffic, even if it’s just “DID YOU SEE THAT LUDICROUS DISPLAY LAST NIGHT X 73”, gives everyone who handles that piece of traffic an opportunity to practice and hone their skills. Also, active nets are nets people come back to. If a traffic net opens and there’s no traffic but 25 people checked in, what’s the point? But if there’s a bunch of traffic, then at least it gives people a reason to keep checking in! And if there’s “actual, important traffic” being passed, it’ll probably be pretty obvious, and if not, well, that’s where message precedence comes in.

The NTS as a whole is also a good muscle overall to exercise. The idea with it is that using only radio waves and some pen and paper, a message can be efficiently and accurately communicated from anywhere in the country to anywhere in the country. Working the system means weaknesses can be exposed, flaws fixed, improvements made, etc. Working the system gives it purpose, and gives the people who are part of it a reason to be there.

I would love to send you a radiogram, or receive one from you! You know where to find my info!

07 Apr 2019, 02:25

My First Radiogram

I’ve been listening in on and checking into the NTTN (Northwest Oregon Traffic and Training Net) net for quite some time. Just recently, I sent my first radiogram! I’m a net control operator for the NET net here in Portland, and decided that I’d talk about NTS and traffic handling during one of my sessions. NET doesn’t use NTS radiograms, but I still think there’s a lot of valuable experience to be gained from participating in NTS that will directly apply to NET deployments.

I’d been listening for a long time, but was nervous about volunteering to handle traffic, and nervous about trying to originate my own traffic. What do I do with traffic I’ve handled? How does it get from me to the person who it’s destined for, assuming it’s traffic bound for a local person and I’d be taking it the “last mile” to the person. As far as originating traffic, what sort of traffic is appropriate? NTS is “formal” traffic handling, but does that mean it can only be used for formal messages or can I say hi to a friend across the country for grins?

I asked Michael AE7XP what his thoughts on the matter were, and he suggested I ask the net control of the NTTN some night, that it could be an interesting discussion and they’d have better answers for me anyways. So, this Friday, I did just that.

I asked 2 questions:

  • If I handle a piece of traffic, what do I do with it? How do I get it that last mile to the recipient?
  • What sort of traffic is appropriate to bring to the net? Can I say hi to a friend or is that too informal?

And I got answers! It wasn’t the lively discussion Michael was suggesting it might be, but I at least became much more comfortable with the idea of participating in the net in a larger capacity than just checking in every now and then.

For last mile handling, generally it’s a phone call. I found a good script for this here. If you have the email address of the recipient, an email works. Or sometimes they are sent as postcards. I remember getting my “Greetings from amateur radio” postcard back in the day when I first got my license.

Now, the irony of using email or a postcard for last mile delivery of a radiogram is not at all lost on me. If you send someone an email, chances are good there will be a fairly significant amount of internet traffic generated to originate, process, deliver, and store the email, much of which will cross the country if not the world, involving many round trips of TCP packets and whatnot. I mean, in a world where I can stand next to some train tracks in Japan out in the countryside and make a video call to a friend who is currently on a train in a tunnel at the bottom of the San Francisco Bay so he can watch a train go blowing past me at 300kph, in real time, what’s the point of NTS anyways? But I digress (and I’ll address some of that during the net, and probably a post here in the future).

As far as originating traffic is concerned, it seemed like pretty much anything was fair game. Obviously it has to be compliant with FCC part 97 etc etc, and don’t use it for passing information about the death of a person or other very private sort of thing, but say hi to a friend across the country? Sure! That’s why there’s a precedence in the radiogram anyways! Plus, it’s all practice, and practice is good (and is one of the reasons NTS is still valuable).

So after I asked my questions and got my answers, I said “in that case, KT7CAT with traffic” (my call sign changed to K1CHN the following day). Net control called out for volunteers, KC7ZZB took on the challenge, and I relayed to him my number one, a short greeting and well wishes to WR0U, the first ham I ever met, who lived 2 houses away from me during my high school years. Given the call sign change, it’s a crapshoot whether or not his reply (if he replies) will come back to me, but we’ll see! I also got some compliments on “that was a good number one” etc. I think because I read things out slowly enough, had the protocol down, etc. Or maybe just general words of encouragement, who knows! Felt good, anyways!

Radiogram #1 to WR0U

Radiogram #1 to WR0U

As part of this process of exploring this aspect of amateur radio, I came across a site where one can manage their radiograms, ones they’ve originated, handled, or been the recipient of, and not only has the prospect of putting it to use gotten me more interested in traffic handling as a whole, it has inspired me to work on a web application of my own for some ham radio things. The site, I just call it “radiograms” by N2SHO, is pretty cool. I’ve been using it to practice copying traffic that other people are handling, including book traffic (though it could use a slightly different flow for book traffic than it has, methinks), and I used it to compose and now track my #1 radiogram, and hopefully more in the future!

All in all it was a good time, and I’m glad I finally spoke up and asked my questions that had been burning in the back of my mind for so long. This was my first radiogram, but I hope it won’t be my last. Tomorrow before the NET net, I hope to handle some traffic myself, if for no other reason than so I can talk more about it during the net afterward! Should be interesting, if nothing else!